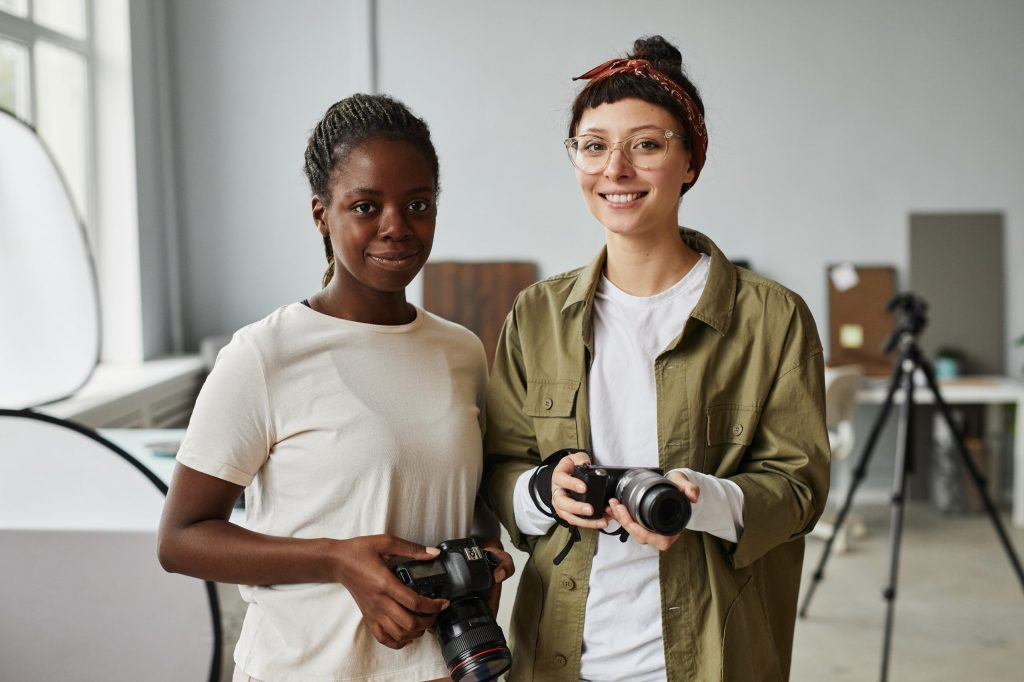
Photography begins with a camera, but not just any camera — it’s your camera, the tool that translates your vision into beautiful images. For beginners, the camera can seem complex and intimidating with its many buttons, dials, and confusing settings. But mastering the basics is the first step to confidence and creativity in photography.
First, let’s break down the core components of most cameras. Whether you use a DSLR, mirrorless, or even a high-quality smartphone camera, the fundamental parts are similar: the lens, the sensor, the shutter, and the viewfinder or screen.
The lens controls how much light enters and how your subject is framed. Different lenses have different focal lengths, which affect how zoomed-in or wide your photo appears. For beginners, a versatile kit lens (usually 18-55mm) is a great place to start.
The sensor is the digital equivalent of film; it captures the light and records the image. Larger sensors usually mean better image quality, especially in low light.
The shutter controls how long the sensor is exposed to light. This is measured in fractions of a second — a fast shutter freezes action, while a slow shutter can create beautiful motion blur.
Understanding your camera’s exposure triangle — shutter speed, aperture, and ISO — is crucial. These three elements work together to control how bright or dark your photo is and affect the overall look.
- Aperture refers to the size of the lens opening. A wide aperture (small f-number like f/2.8) lets in more light and creates a shallow depth of field, blurring the background beautifully. A narrow aperture (larger f-number like f/16) lets in less light and keeps more of the scene in focus.
- ISO measures the camera sensor’s sensitivity to light. A low ISO (100-200) is best for bright daylight and produces crisp images, while a high ISO (1600 and above) helps in dark conditions but can add grain or noise.
- Shutter speed controls how long the shutter stays open. Fast speeds (1/500 or faster) freeze motion, while slow speeds (1/30 or slower) can cause blur if the camera moves.
One of the best ways to learn these settings is by switching your camera to manual mode and experimenting. Try shooting the same scene with different apertures, shutter speeds, and ISOs and observe the changes.
Finally, remember that photography is as much about seeing as it is about technical skill. Pay attention to light, shapes, and moments. The more you practice with your camera, the more intuitive these settings will become.

